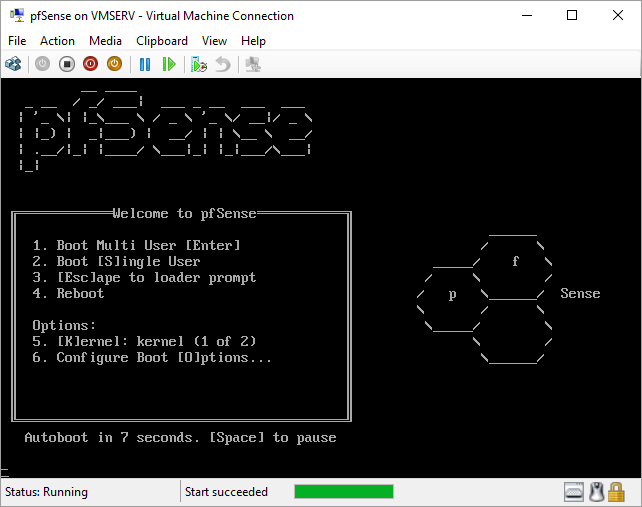
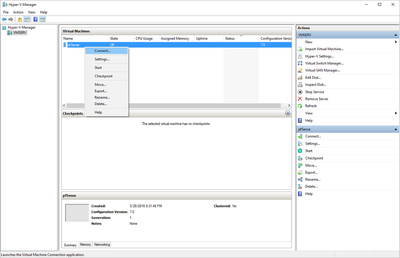
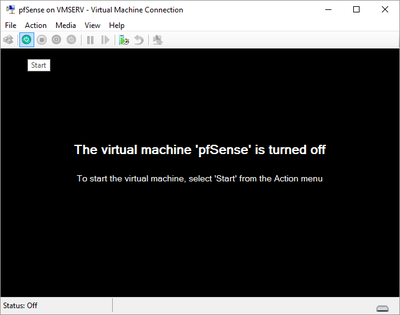
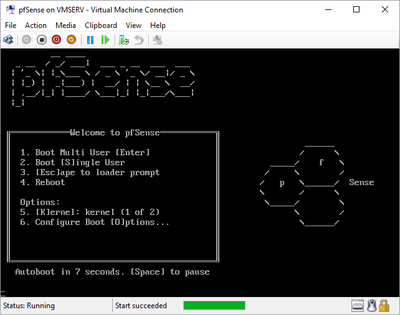
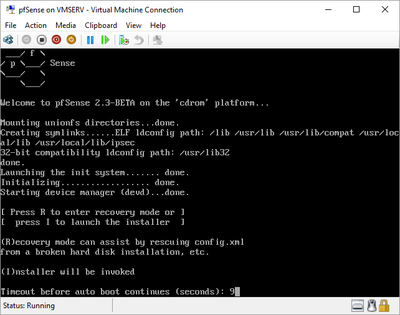
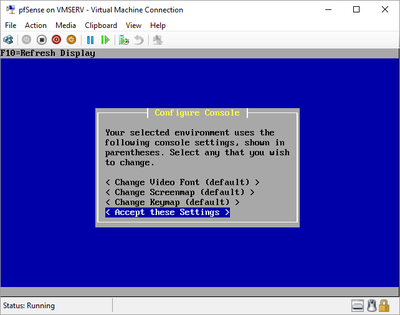
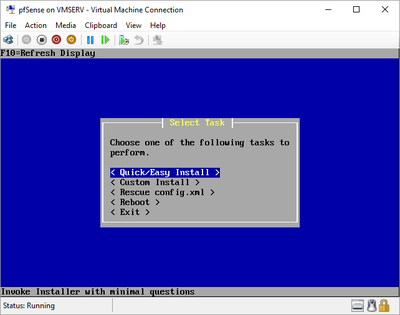
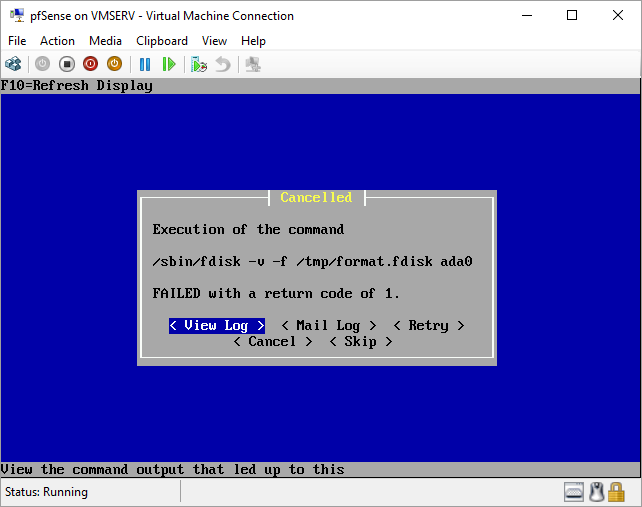
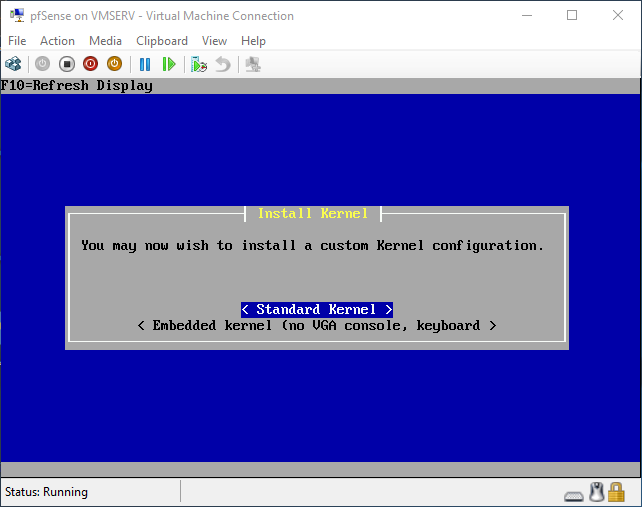
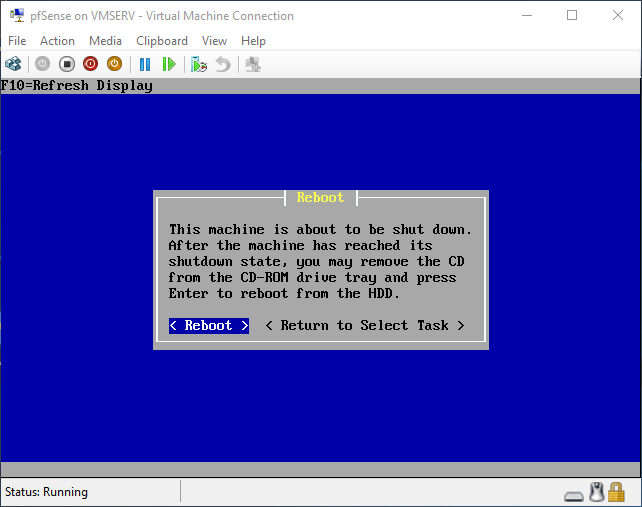
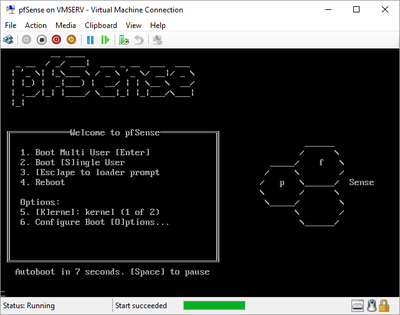
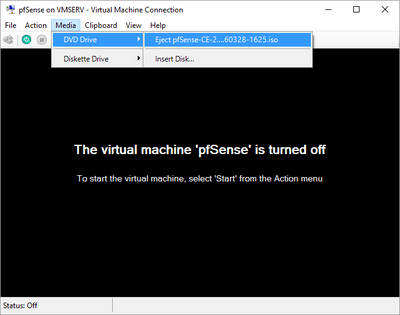
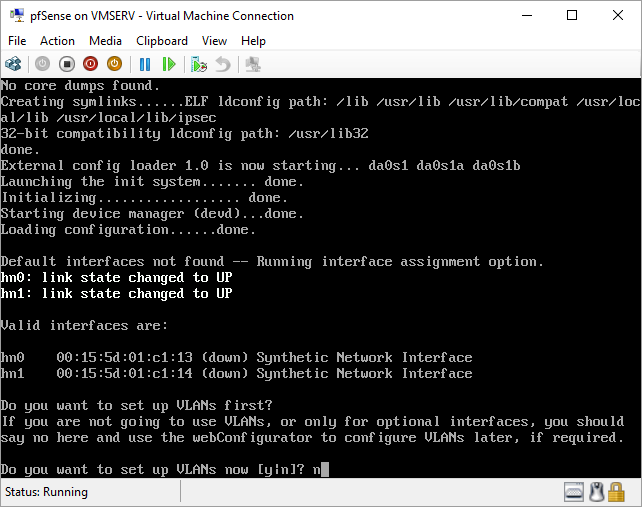
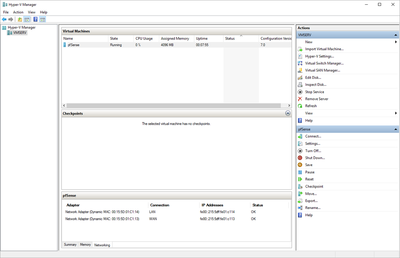
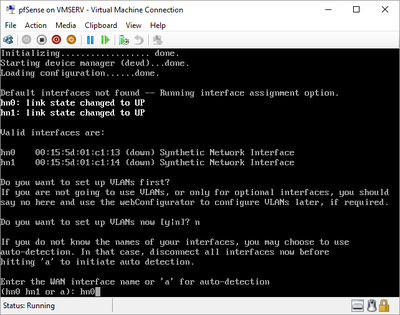
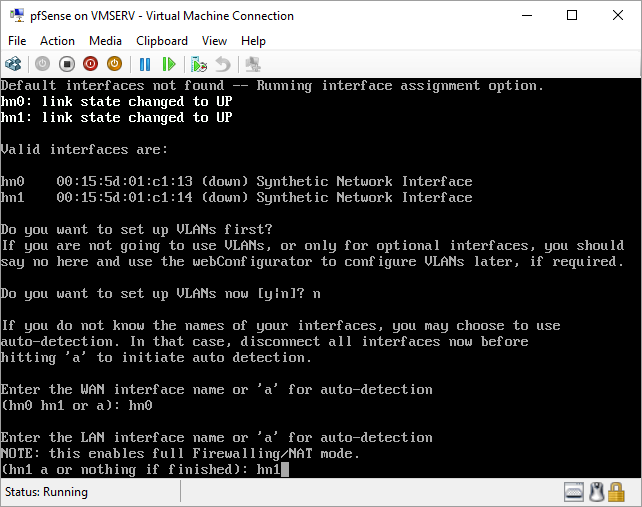
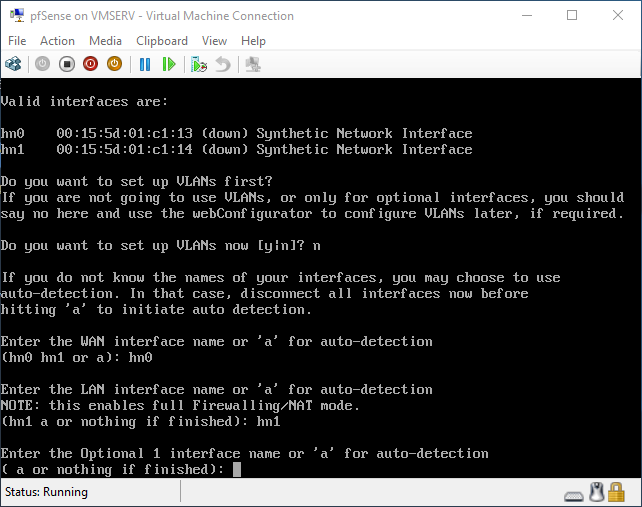
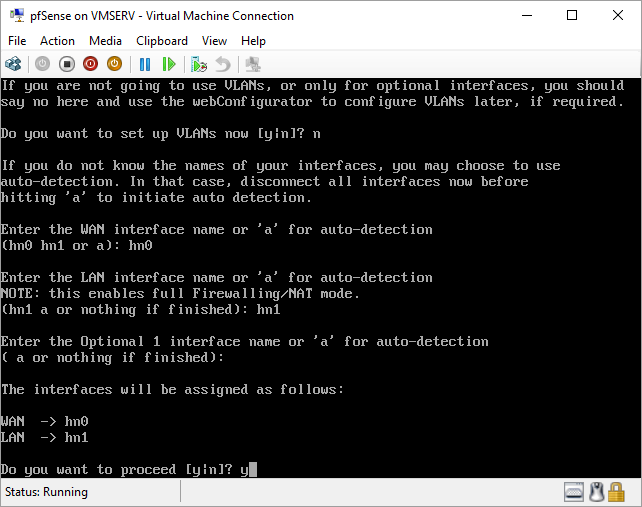
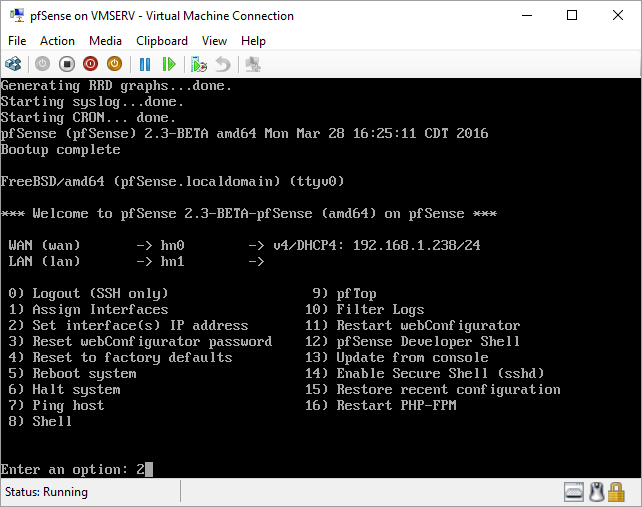
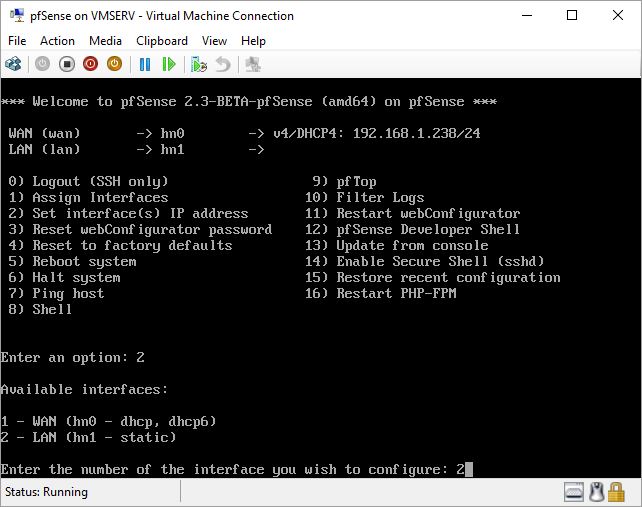
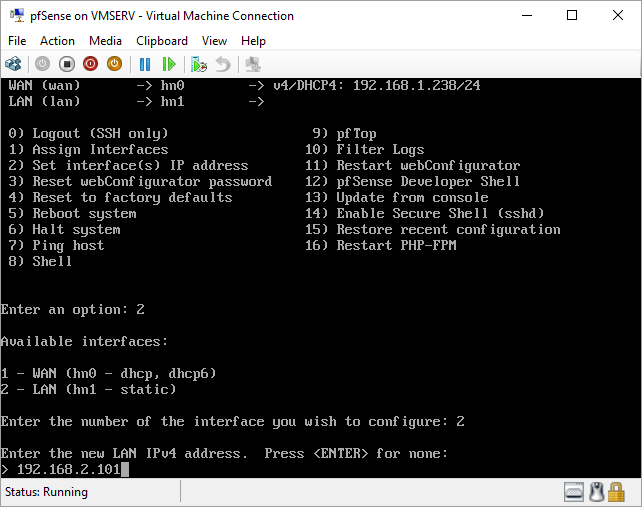
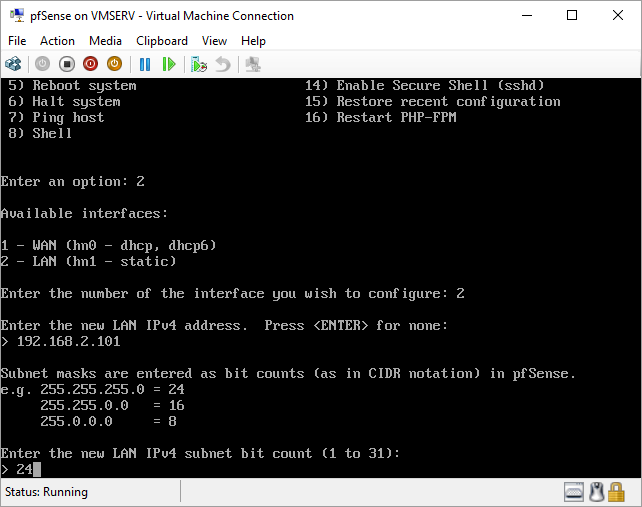
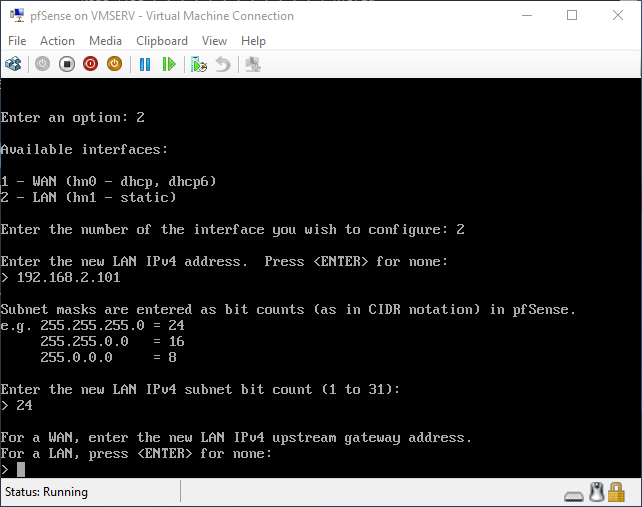
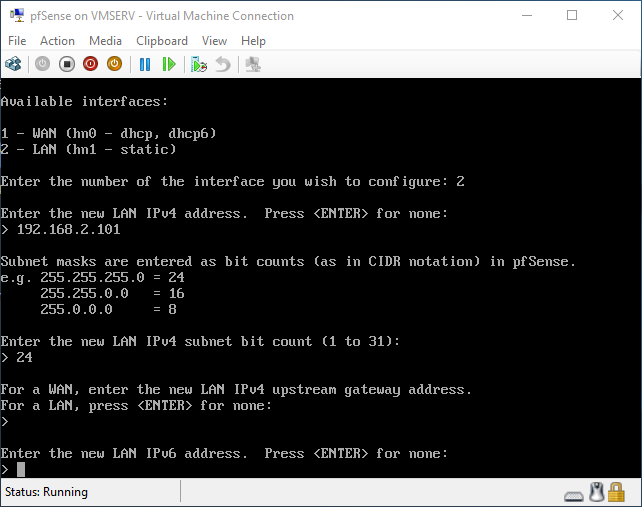
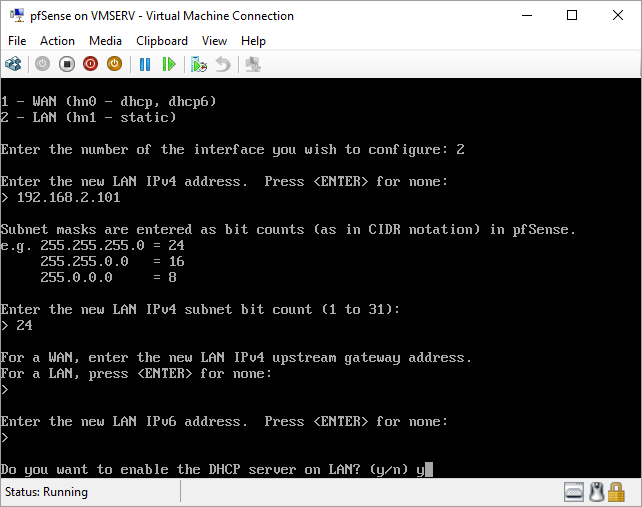
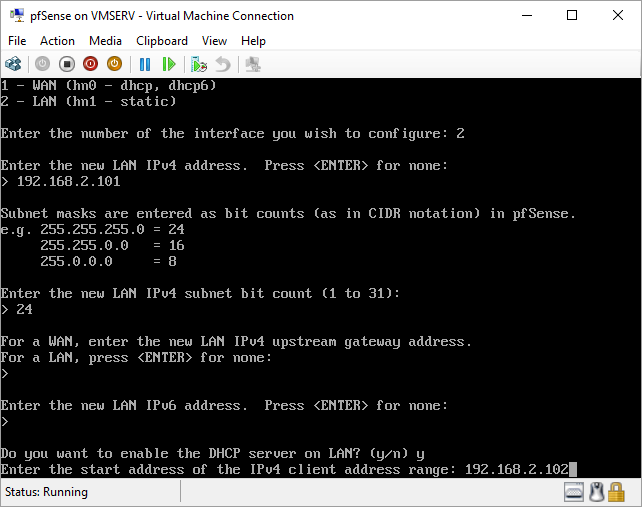
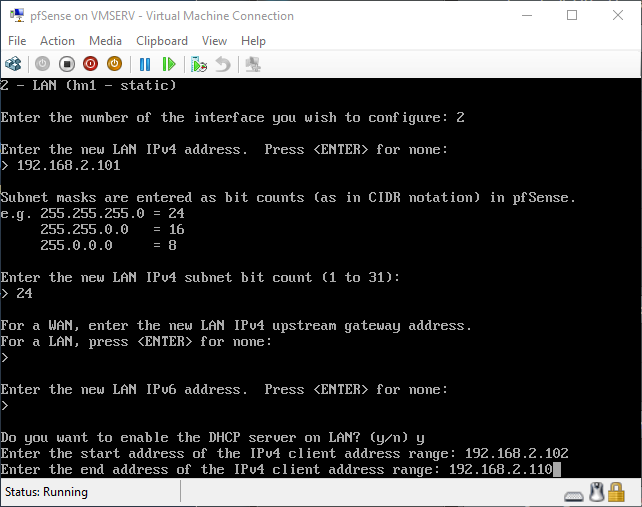
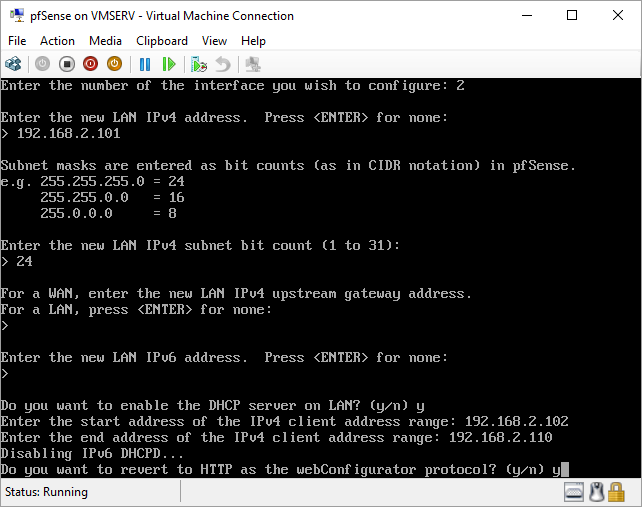
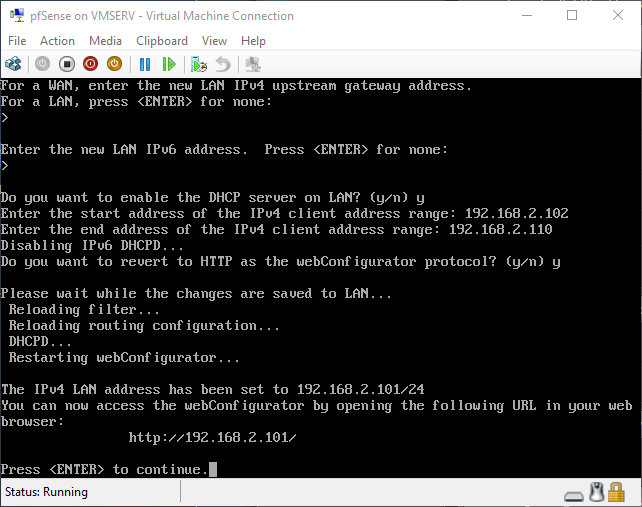
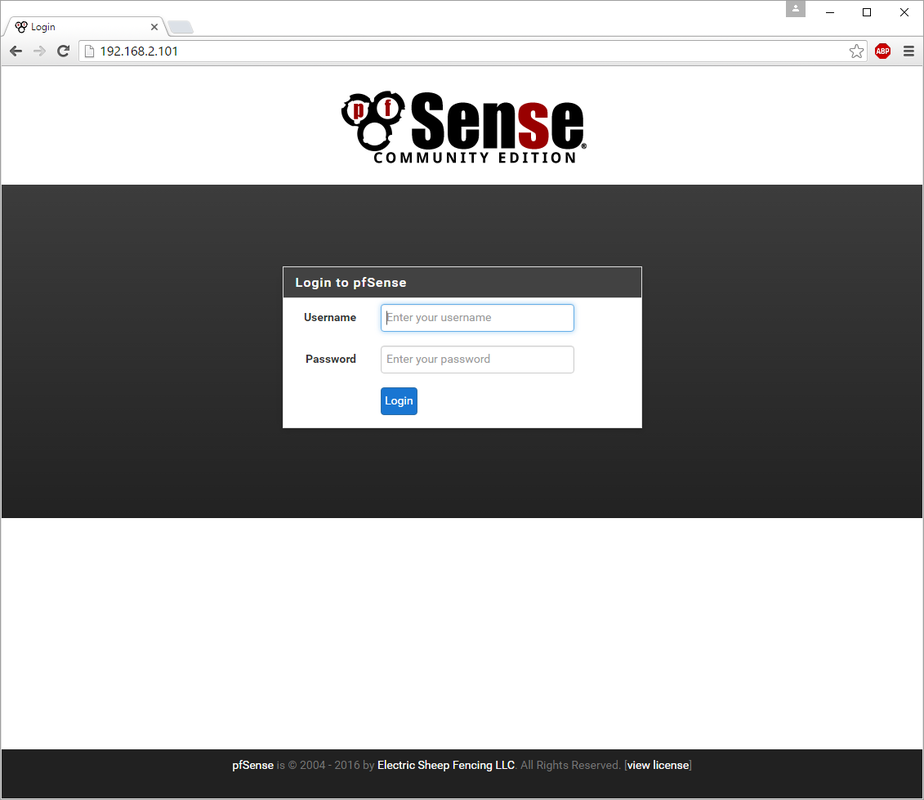
pfSense InstallNow that we have created our VM from Part 1, it's time to finally install pfSense. Double click or right click on the virtual machine -> connect and then push the start button. The startup screen appears with a timer. Let the timer count down. You will see another countdown shortly after asking you to press “I” to launch the installer. Press “I”. The Configuration Console appears. Use the keyboard arrows to navigate these windows. Select Accept these Settings -> Press Enter. Select Quick/Easy Install -> Press Enter. Note: This is why you need the latest 2.3 Beta build instead of the currently released 2.2.6. You will get this error massage about formatting the drive. Some people appear to have figured a way to avoid this be formatting in advance and skipping this step. I have found that you can just click skip and everything works fine afterwards. Because this feels wrong to me, I will stick with the latest build that does not have this issue. The formatting process only took a few seconds on my setup but yours will vary depending on allocated virtual drive space and hard drive type. Select Standard Kernel -> Press Enter. After the installation, a message will appear telling you to restart the virtual machine but take the disc out before it starts back up. There is a slight trick to this. You shouldn’t take the disc out now because it appears to still use it for processes after this screen. You need to wait until it reboots itself and then force shutdown on the server, eject the disc image, and then boot the server back up. If you leave the disc in, it will prioritize booting from the disc. Select Reboot -> Press Enter. When the main screen appears, turn off the virtual machine and eject the disc before turning back on. Interface ConfigurationNow that we have installed pfSense, we need to tell it which direction the traffic is coming from and where it goes to. i.e. which Ethernet connection is the WAN and which is the LAN. Turn the virtual machine back on if it is not already and let if running through its startup routine. When pfSense is through its startup routine, you should see a listing of the valid interfaces. There should be one for each virtual switch you added to the server. If you only see one, turn off the VM and go back and try re-adding the second virtual switch before restarting. Once you see both interfaces listed, it is time to continue. “Do you want to set up VLANS now?” No. “Enter the WAN interface name…” This seems harder than it is. You are only given some names that pfSense made up and MAC addresses. Go back to Hyper-V Manager and click the networking tab for the virtual machine. You will see the given MAC addresses in the Adapter column. Recognize the one that is for WAN and type the displayed given name in the prompt. i.e. my WAN ends in 13 so I must type hn0. “Enter the LAN interface name…” I only have 2 NICs so the only one left is for the LAN (hn1). You can repeat the above procedure in Hyper-V Manager if you need to make sure or have more than 2. “Enter the Optional 1 interface name…” Leave blank. Press Enter. A confirmation of your choices appears. Enter y to proceed or n to reconfigure. It will do some configuration at this point. You may get a popup from your Hyper-V host as it recognizes the new connection. There is no requirement to do anything for that. Now you should get this screen. You WAN has an IP address assigned to it (from my router in this case) where you LAN is empty. This is okay. We still need to configure the LAN IP Address. Select option 2. “Enter the number of the interface you wish to configure:” We want to configure the LAN so 2 in my case. “Enter the new LAN IPv4 address…” This is important! We need the WAN to grab an IP Address from the router that is within the router’s allowed IP address pool. The LAN is a separate piece of the system. We do not tell it to use an IP address from the router’s pool. This LAN is not “seen” by the router. This is a separate network! We want to specify an IP address that is different from the router’s pool but also in the same subnet mask as the router’s. If you are curious as to figuring out what subnet mask to use (it is typically 255.255.255.0), go to this website and type in an IP address you had in mine and make sure it has the same subnet as the WAN. You can see the WAN’s subnet mask by either using ipconfig /all in a command prompt on the host of typing the IP address of the WAN from the pfSense screen into the same link. http://jodies.de/ipcalc Note: The above site calls subnet mask “Netmask”. My WAN’s IP Address is 192.168.1.238 so I will choose 192.168.2.101 for my LAN. “Enter the new LAN IPv4 subnet bit count (1 to 31):” This should be obvious. My subnet mask is 255.255.255.0 so it will be 24 from the examples they give. “For a WAN, enter the new LAN IPv4…” We are configuring the LAN so leave it blank just like it says. “Enter the new LAN IPv6 address…” Not required. I will leave blank. “Do you want to enable the DHCP server on the LAN?” This is up to you but if you do this, it will automatically assign IP Addresses based on the range you give in the nest steps to anything you connect to the LAN. Remember, anything on the LAN does not get an IP address from the router’s pool. I will choose yes. “Enter the start address of the IPv4 client address range:” Type is what first IP Address you want to be allowed for any clients connected to the LAN. You CANNOT let this be the LAN’s current IP address. Ideally, the entire range should not contain the LAN’s IP address at all. Since the IP address I assigned to my LAN is 192.168.2.101. I will start at 192.168.2.102. “Enter the end address of the IPv4 client address range:” Typically, the upper limit for this is 192.168.2.254. I will choose a small range limited by the size of the physical switch I have connected to my LAN. It can certainly be larger but this simply makes sense to me as I can only have so many things connected to the switch without replacing or adding another switch. “Do you want to revert to HTTP as the webConfigurator protocol?” Now you can certainly get all security conscience and do a self-signed certificate and install it around your network or get a real one if you want to access this outside of you network. For the sake of not being bothered by “This connection is not secure” messages in Chrome every time I want to login to the web interface, I will switch to HTTP. It will do some configuration and then show you the web address to use to get to the pfSense web interface. If I type the address in a web browser on the VM host (since I selected to allow the management O/S to share the network adapter), I should get the pfSense login screen. If you get a connection timed out message, try restarting the VM. Sometimes, you have to restart the VM when you make configurations like we just did. That's all for Part 2. Stay tuned for Part 3 where we explore the GUI.
11 Comments
Mikael
9/29/2016 02:46:26 pm
As a new comer to pfSense but with fair knowledge about commercial firewalls this helped alot to get going! Thanks mate!
Reply
Vincent
12/25/2016 12:13:51 pm
Simple, minimal and accurate. Just the Tutorials I like the most! Would love to see part 3, 4 etc.. :)
Reply
Rick
1/20/2017 06:38:17 pm
When will you publish the part 3?
Reply
Oliver
1/29/2017 06:59:15 am
I guess never :-)
Reply
Vincent
2/26/2017 04:47:06 pm
Excellent post. I am looking at doing the same thing on my home network running Windows Server 2016. I was wondering if I need to install VM tools in pfsense. I know there is a package for vmware in the pfsense list of package, but what about Hyper-V? Thanks.
Reply
Hans Vander Gucht
10/26/2017 11:37:13 am
Question : Why do we need a router between WAN & Pfsense ?
Reply
Stans
12/28/2017 09:39:14 am
pfSense is the router between WAN and LAN; there is no other router between those networks. I do understand what you're asking though. Depending on your internet service setup, you may or may not need a router between your ISP and the WAN interface, but you'll need an intemerdiate device of sorts to actually connect your pfSense host to the internet. The intermediate device could be a modem, a router/modem combo unit, a wireless access point/repeater or even another PC that's sharing its internet connection in one way or another in a really convoluted setup that you could imagine. For example, in my country, mobile broadband connectivity is the most readily available and affordable source of internet connectivity, while options like fibre optic and satellite broadband remain a reserve for the richest, and cable is almost non-existent! In such a setup, you would need a 3G/4G router with either an inbuilt or external (USB dongle) 3G/4G modem between your pfSense WAN interface and the mobile broadband ISP in order to get internet connectivity, so your simple diagram would be ISP -> 3G/4G router+modem -> WAN ->pfSense ->LAN -> switch/ap/another router etc-> clients.
Reply
Fanda
4/18/2021 10:04:40 am
Thanks for tutorial. Now I have the following problem - when I select the disk with Windows 10 on which I would like to install pfSense, there is following message: "This partition does note have a valid mountpoint (for the partition from which you intend to boot the oparating system, the mountpoint should be "/". This message is shown even if I have formatted the partition with free space for pfSense as EXT4. So I don´t know how to prepare disk with Windows for right pfSense installation, Please could You help me via my e-mail? Thank You very much in advance. With best regards Fanda Waldorf
Reply
Your comment will be posted after it is approved.
Leave a Reply. |
AuthorErick Johnson Archives
May 2024
Categories
All
|
 RSS Feed